Interior & Exterior Staining Services
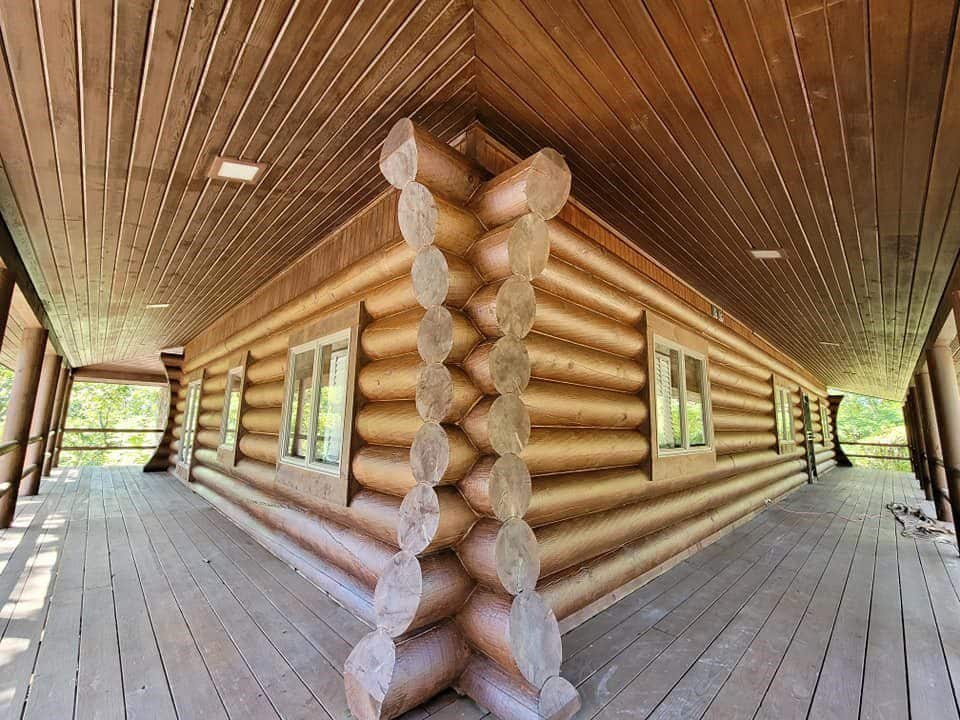
Log home stains keep your home looking great and protected from the environment. Staining is the process of applying a penetrating coat of wood finish to extend your log home’s longevity. Stains help guard against UV ray exposure and water damage.
We only use high-quality water-based and oil-penetrating stains from the top log home suppliers. With a wide variety of colors to choose from, we’ll help you select to best look and protective coating for your home. Whether you need exterior or interior staining, Log Masters will get it done. We’ve created an informative post to help anyone understand the pros and cons of water-based verses oil-based stains.
Please note that interior and exterior stains should not be used interchangeably. Both protect the logs while allowing them to breathe, but they are not one and the same. We use Perma-Chink and Sashco products, depending on the customer’s environment and preference. Keep an eye out for a future blog highlighting stain similarities and differences.
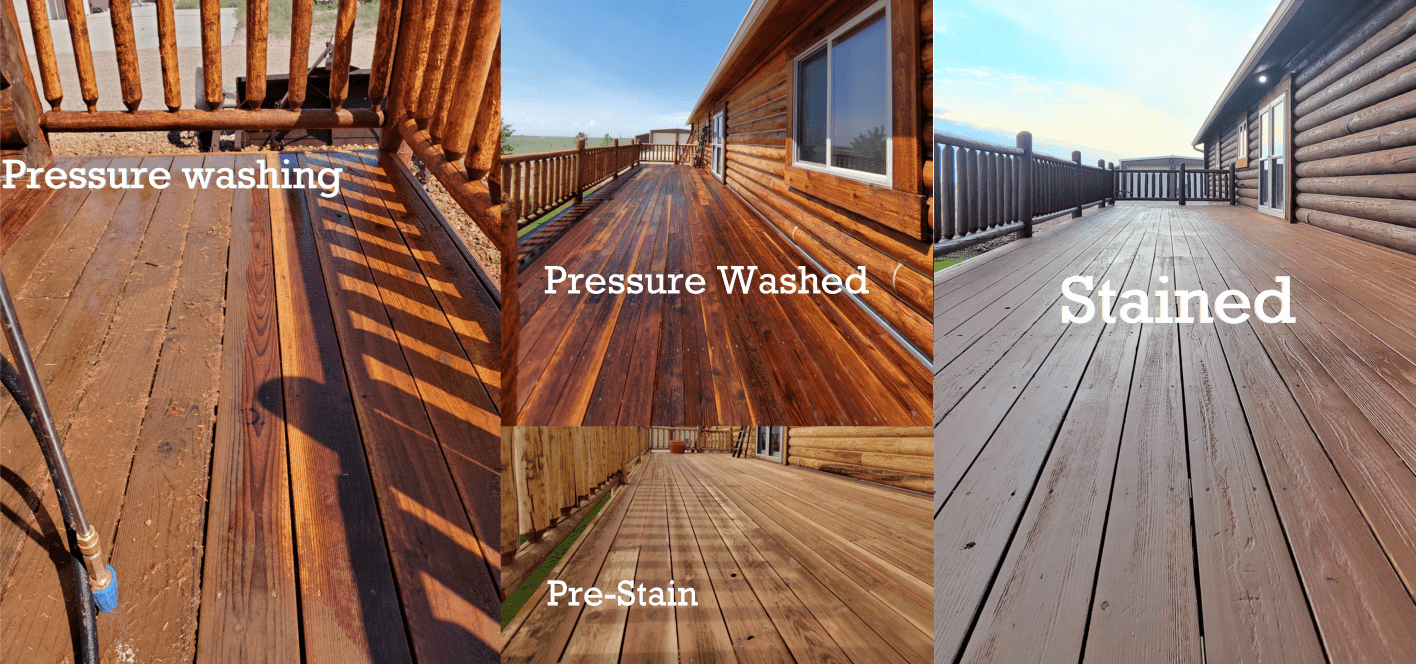
On a related note, log home stains and deck stains also function differently and should not be used as a substitute for each other. Be sure to consult one of our log home restoration professionals about which stain is appropriate for your project. If Log Masters is doing restoration work on your log home, we may be able to repair or stain your deck. Contact us for more information!
How Does Weather Affect Log Home Staining?
All wood surfaces must be prepped before our Log Masters can begin the staining process. Once fixtures, windows, doors, etc. are protected and weather conditions are favorable, we get to work. Unfortunately, weather-related challenges often complicate the staining process.
WEATHER CHALLENGES
Stains are sensitive to hot and cold temperatures. When stain is applied during unsuitable weather conditions, both its appearance and effectiveness may suffer. Lapping and flashing are the two most common stain issues resulting from unfavorable weather conditions.
Stain Lapping
What is stain lapping? Lapping occurs when stain is unevenly applied or two stains overlap and dry before brushing in, leaving darker or lighter spots. While this can be applicator error, direct sunlight on log surfaces during staining is another common culprit. Heat can cause the stains to dry too fast to brush in evenly.
Stain Flashing
How does stain flashing happen? Flashing—also known as oil “hold out”—can occur when stain is disrupted by temperature fluctuations, condensation or dew buildup before it’s completely dry. Other causes include poor stain choices or uneven application. Flashing triggered by cold or damp weather can make the stain look like oil is floating on the surface, creating a foggy effect, translucent shine or filmy sheen.
WINTER STAINING
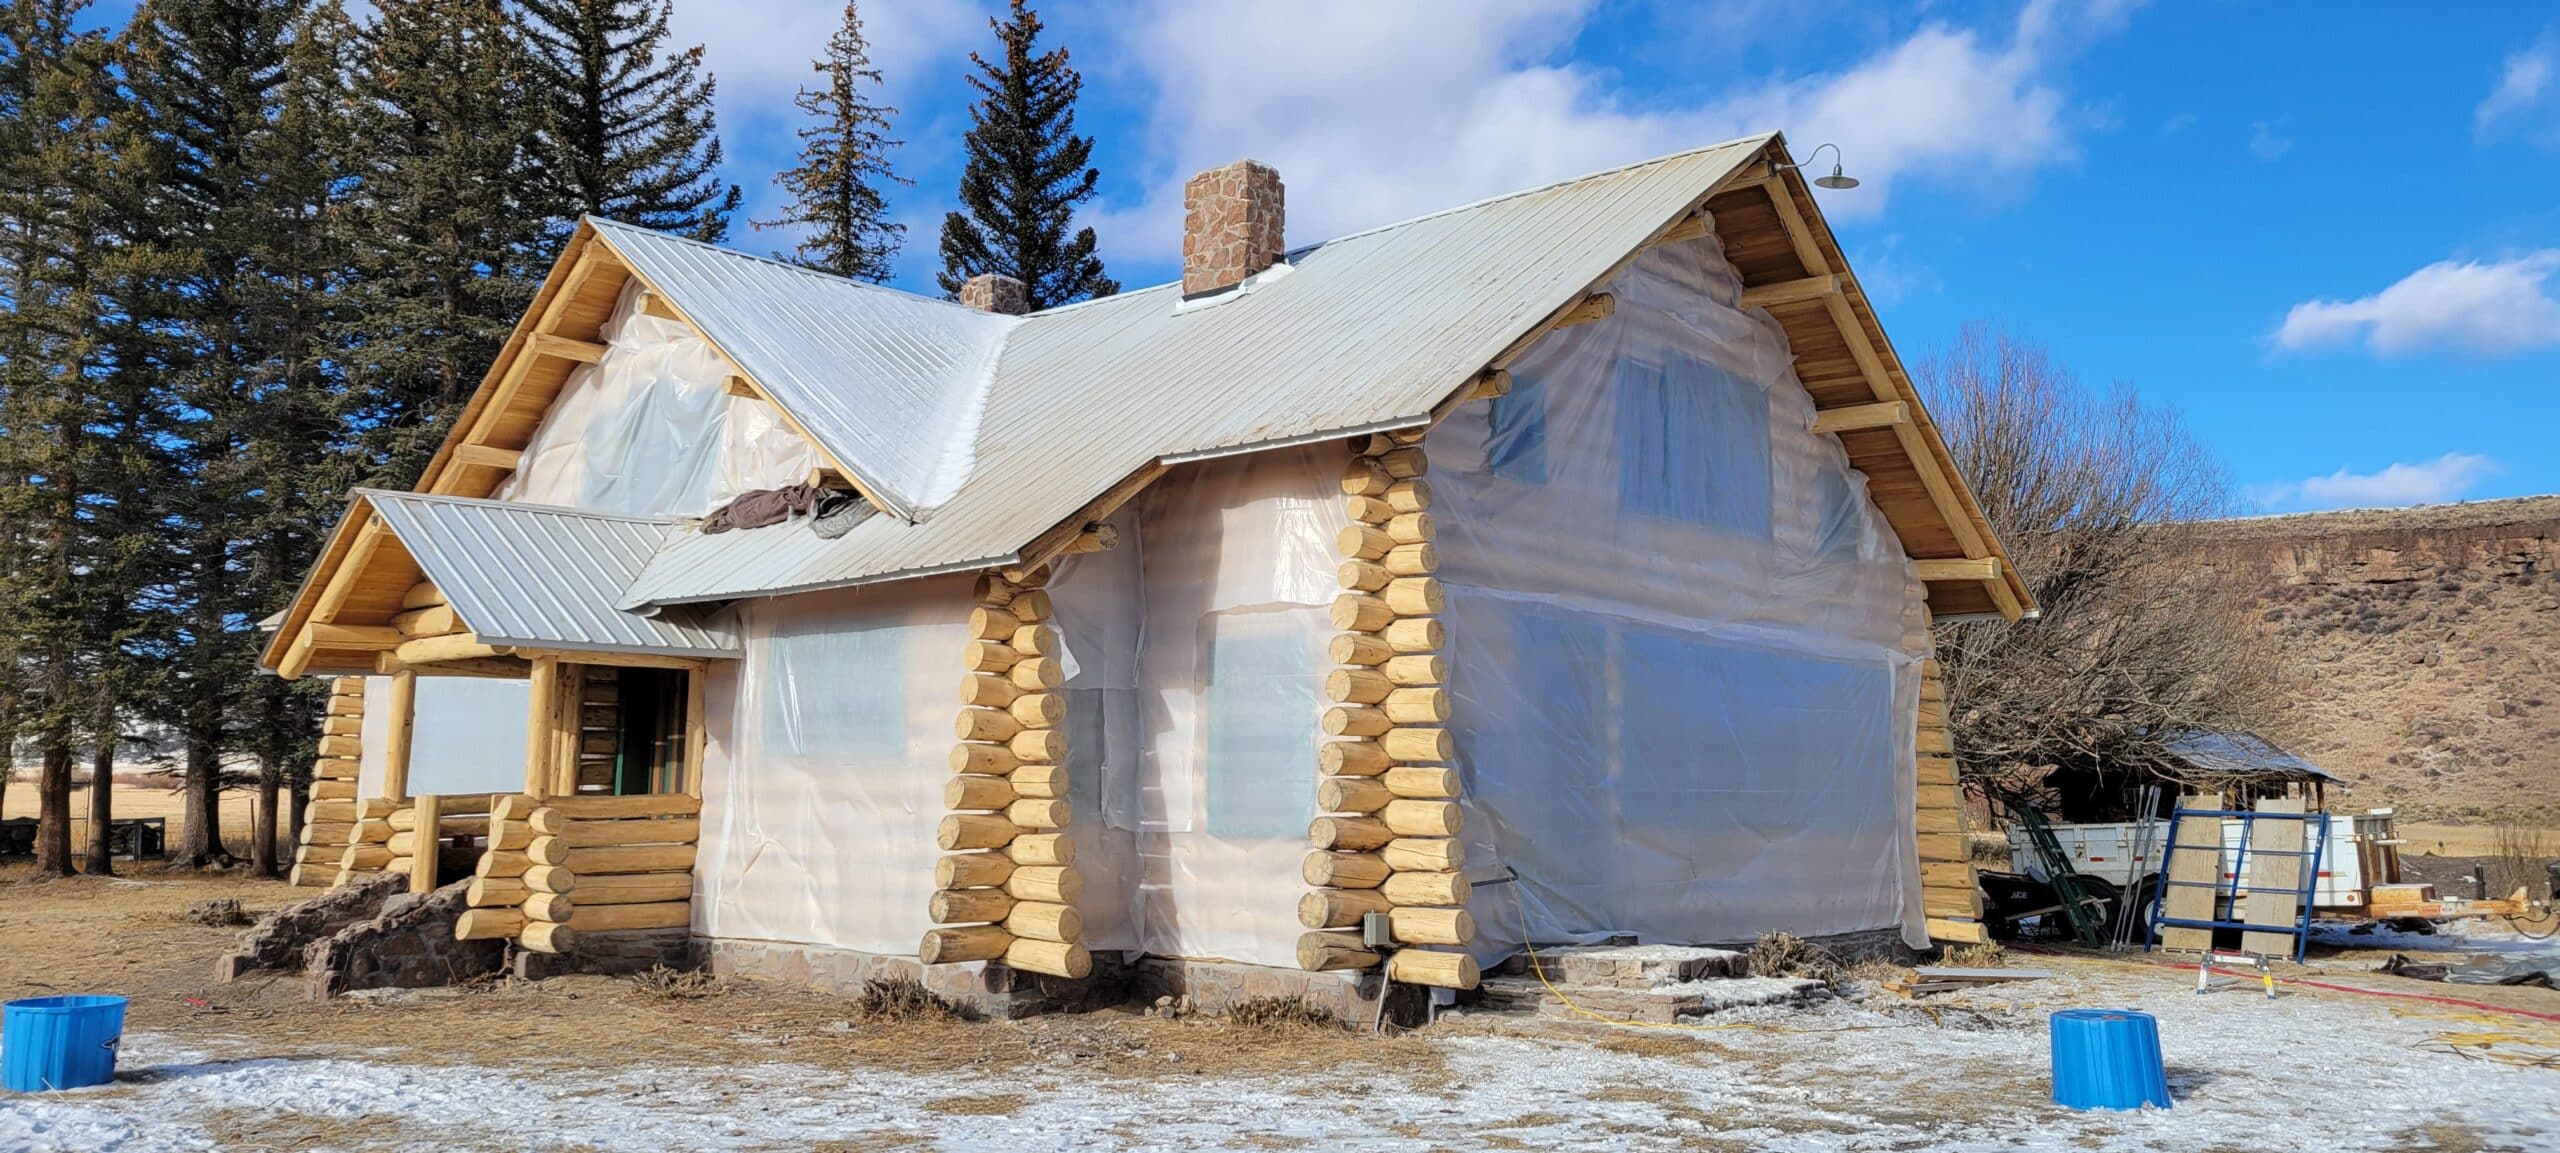
We typically only perform certain parts of the log home restoration process in the winter, namely stain removal and log rot repair and replacement. On rare occasions, we might attempt a full restoration to meet the demands of our customers. In those cases, we may need to drape tarping from the roof to the ground and run heaters on a timer to control the temperature as the stain dries for at least two to three hours. However, if temperatures drop below 40 degrees, we halt staining to avoid flashing. In some cases, we’ll place plastic over unprotected wood surfaces until conditions are suitable for staining.
Summer Staining
Direct sunlight in warmer months can also present a challenge and may lead to stain lapping, spotting or dripping before it can be brushed in properly. Our Log Masters “chase the sun” and the shade it creates in the morning and evening. Our crew will arrive early to stain the south-facing wall before the sun reaches its peak. This allows ample time to apply the stain before the logs get too hot for application.
Applied properly with weather conditions in mind, the right quality stain will help prevent log rot and make a home look stunning. The homeowner’s needs and desires also figure in when selecting a stain. Log Masters will guide you through the variety of available options.
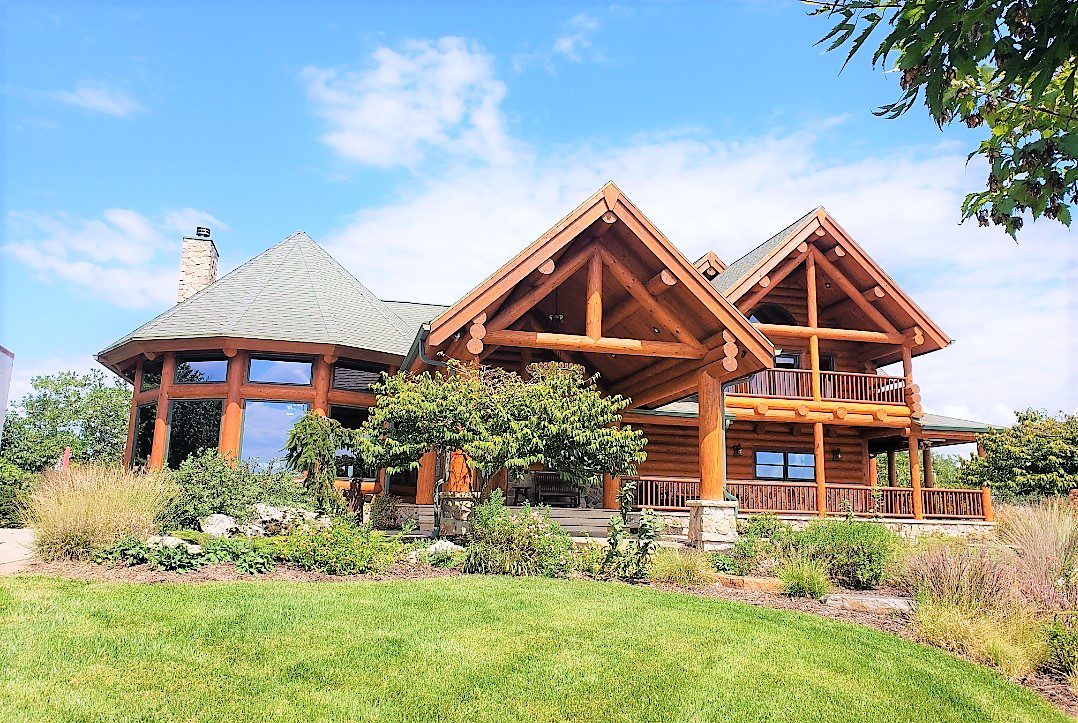
How Stain Protects Your Log Home
Stain protects your log home and surrounding wood surfaces. There are many stains to choose from and using the right one for your home and its environment is vital for longevity. Trust our Log Masters to guide you through the process of selecting the best log home stain for your property.
Stains can offer UV ray protection that most clear finishes do not, but it must be applied properly. Stain applied to logs when the Equilibrium Moisture Content (EMC) is high can result in premature blistering and peeling. For more information on the benefits of stains, check out our blog, “Clear Finish vs Stains: Which Option is Best for Finishing Your Log Cabin?”
PROS & CONS OF WATER-BASED VS OIL-BASED
Water-based stains and oil-based stains have different applications, and each has benefits. Log Masters Restorations typically recommends water-based stains for several of the reasons we have outlined below.
We also use oil-based stains when needed—or if the customer prefers it. The benefits of oil-based stain are also listed below so you can make the most informed decision for your log home. We’ll review all the options with you when you reach out for a free estimate.
Water-Based Stains Pros
- Stays on the surface of logs, making them appear brighter and more vibrant
- Semi-flexible so it expands and contracts with logs throughout the seasons to prevent cracking, blistering or peeling
- Tough and durable on semi-smooth to textured surfaces
- Great built-in UV protection
- Comes in satin or gloss
- Like Perma-Chink, most stains come with a manufacturer’s warranty that we keep on file and provide customers with a copy
Water-Based Stain Cons
- Typically more expensive
- Requires a clear coat and,
- Clear coat maintenance.
- Peeling occurs when stain begins to fail
Oil-Based Stain Pros
- Penetrates the surface of logs
- Displays wood grain
- Doesn’t crack or peel
- Typically less expensive
- Better for dry climates
- Requires no clear coating
- Recoating renews and revives oil-based stain
- No clear coat maintenance
Oil-Based Stain Cons
- Colors can appear dull, although some brands are making strides (Log Masters has some great recommendations)
- No choice on sheen or finish.
- Can be messy and requires solvents to clean up
Does Your Log Home Need Fresh Staining?
Don’t wait too long to have your cabin re-stained. Generally speaking, most log homes need to be stained every three to five years to ensure they don’t fall into disrepair or experience log rot. Staining is an essential part of log home maintenance. Protect your logs from destructive UV radiation and wear from the elements with a water-based or oil-based stain.

If the exterior of your log home is starting to look like the one pictured above, it’s ready for new coat of stain. Contact Log Masters today for more information about what’s needed to get your home cleaned up, prepped and ready for a fresh coat that will bring out the wood’s richness and radiance.
Process Steps
Log Cabin Staining
Step 1:
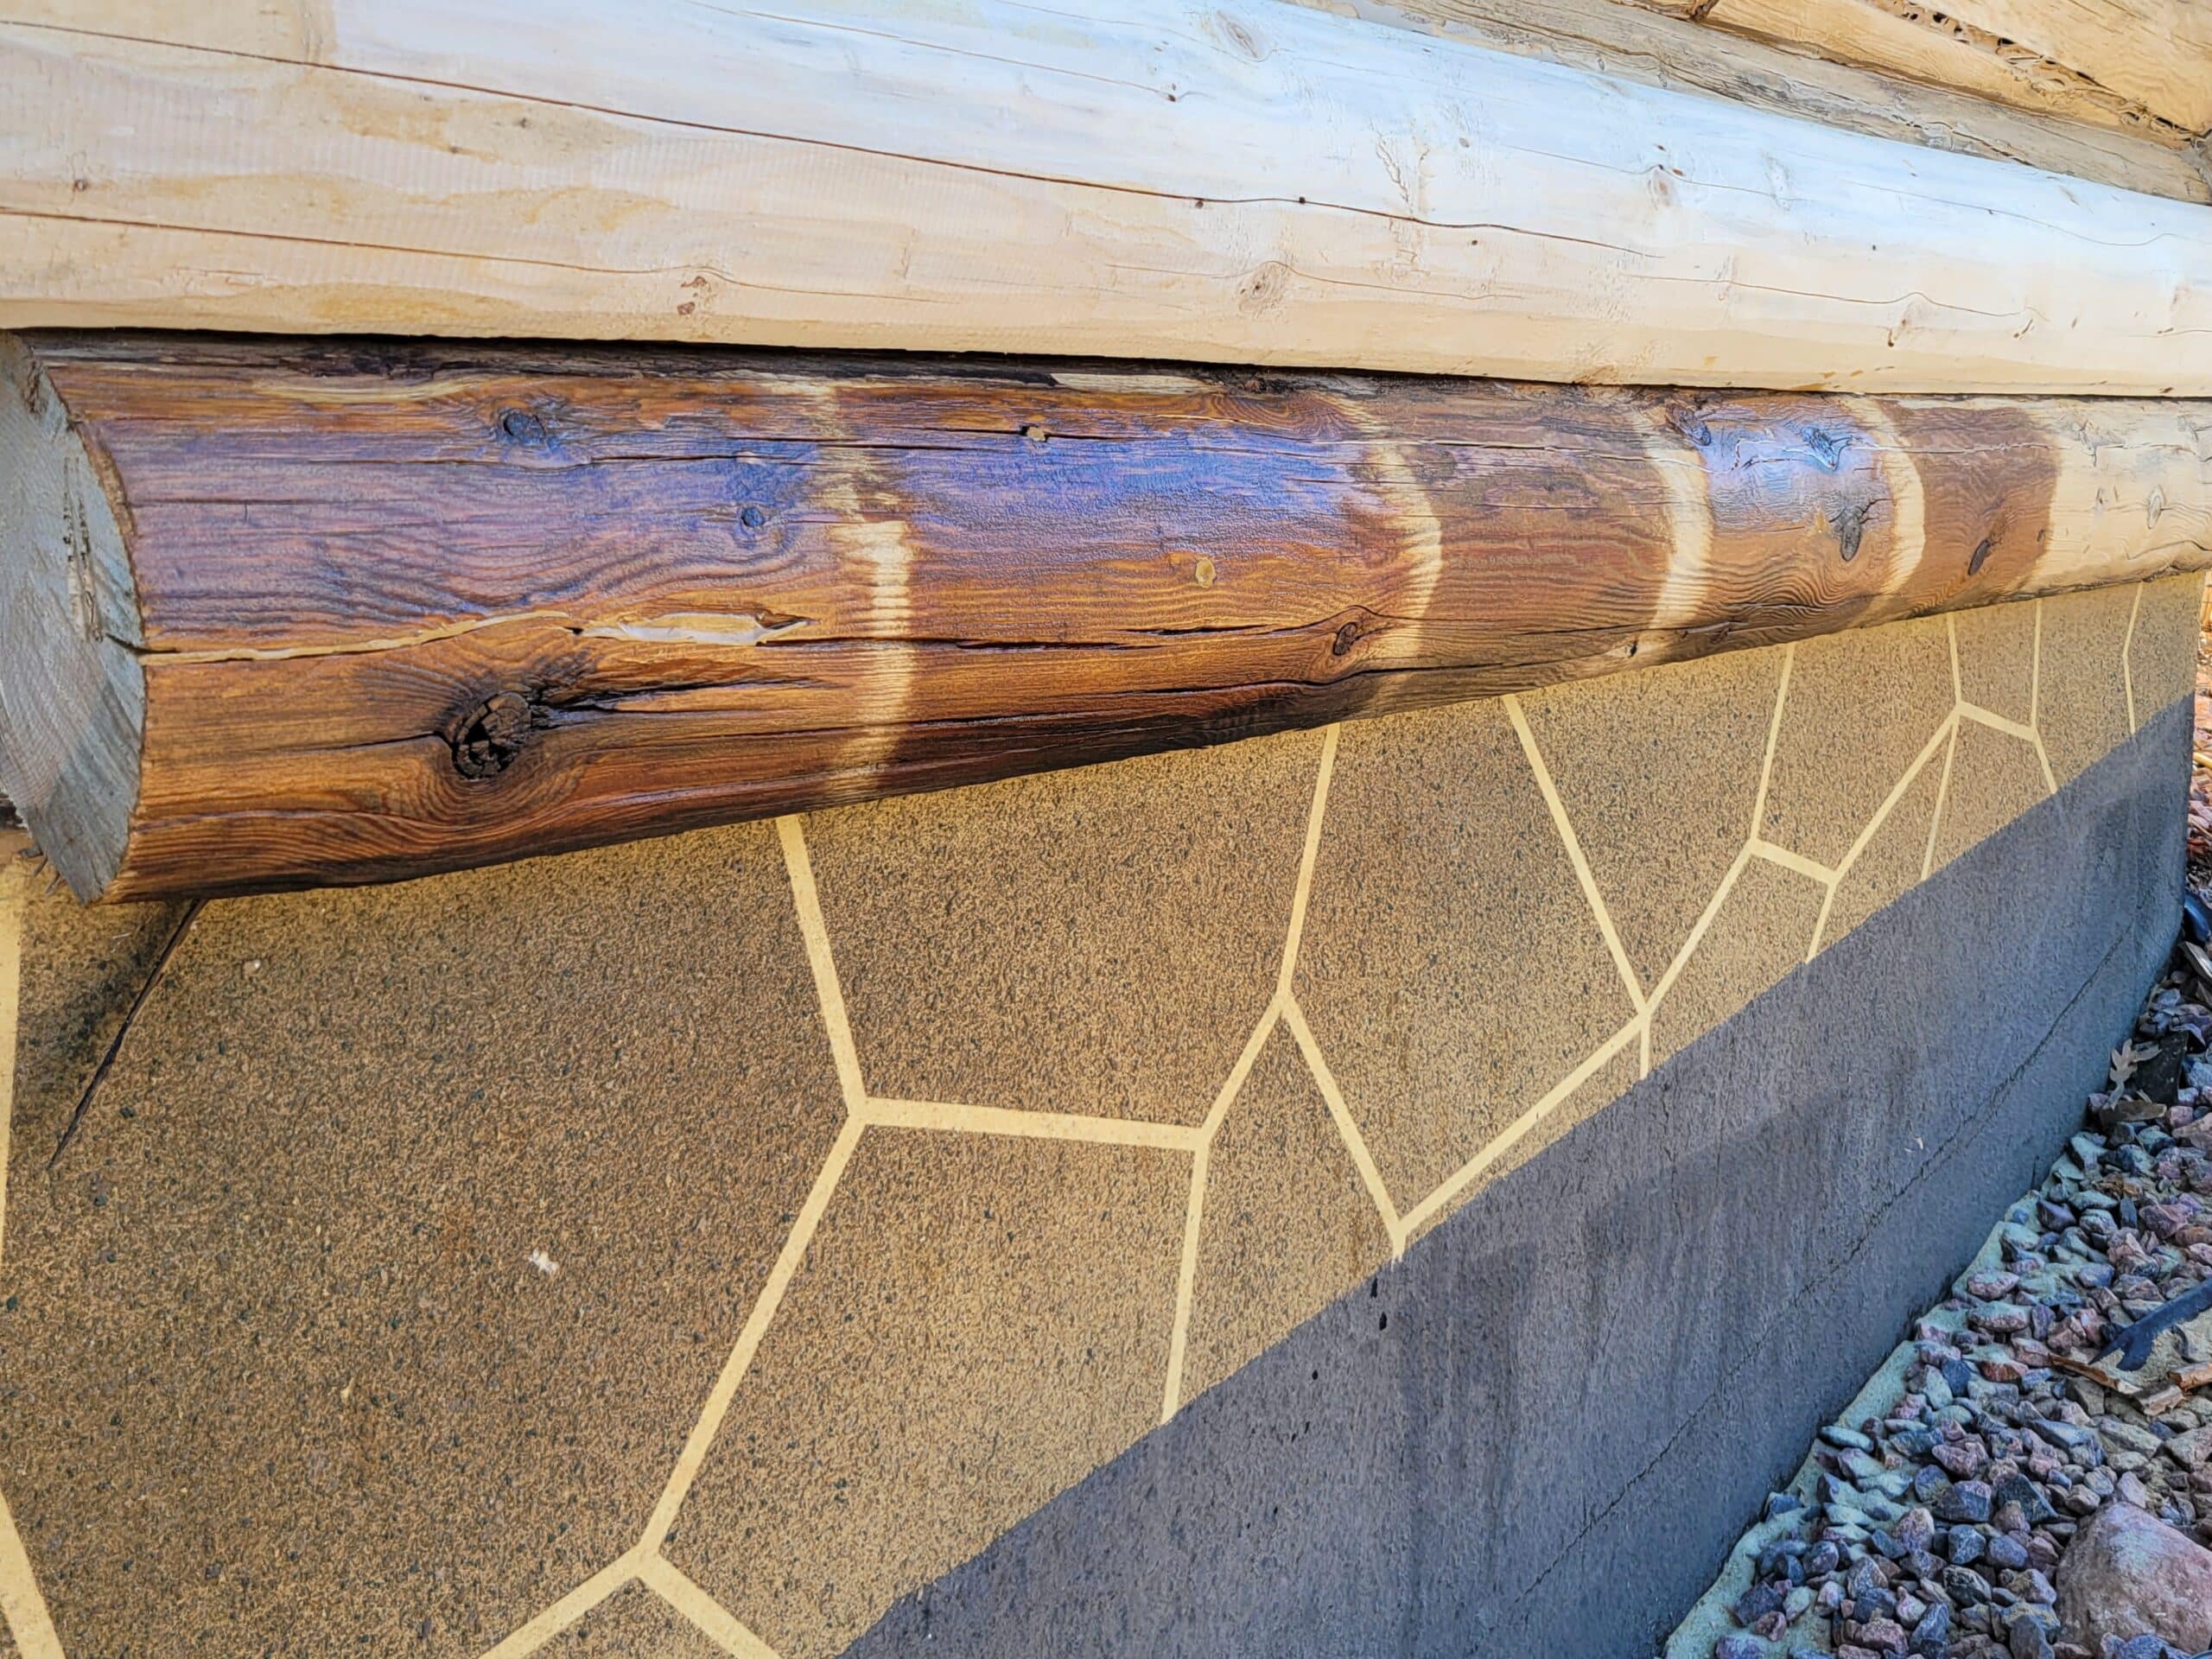
During the media blasting process, Log Masters will stain a small area of the exposed wood surface with several log stains for a comparison. Log type and appearance after drying are important variables to consider when picking a stain. Log Masters can help you choose the right stain for your logs, location and budget. Regardless of whether you settle on water-based or oil-based, we’ll recommend the best stain to fit your needs.
Step 2:
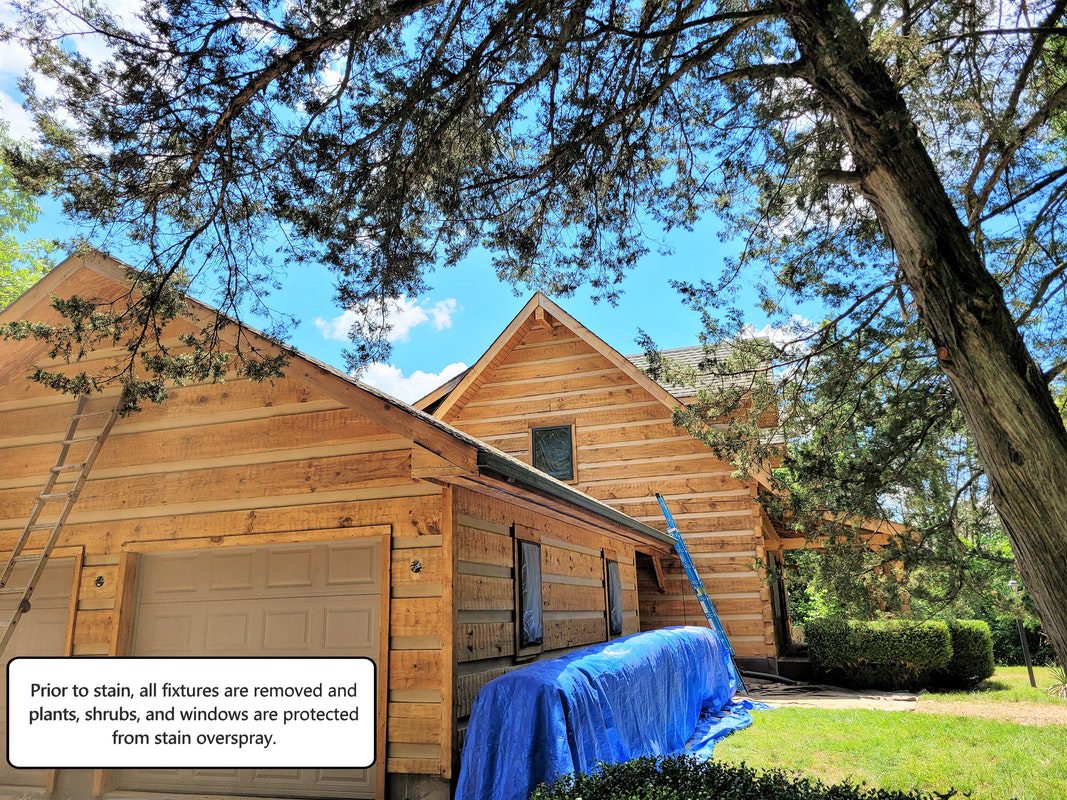
Stain prepping always precedes staining and can include multiple elements. These may include caulking or chinking, log wash treatments and Prelude (if necessary). Before staining can begin, fixtures must be removed and all windows, stone walls and shrubs have to masked or tarped for protection.
Step 3:
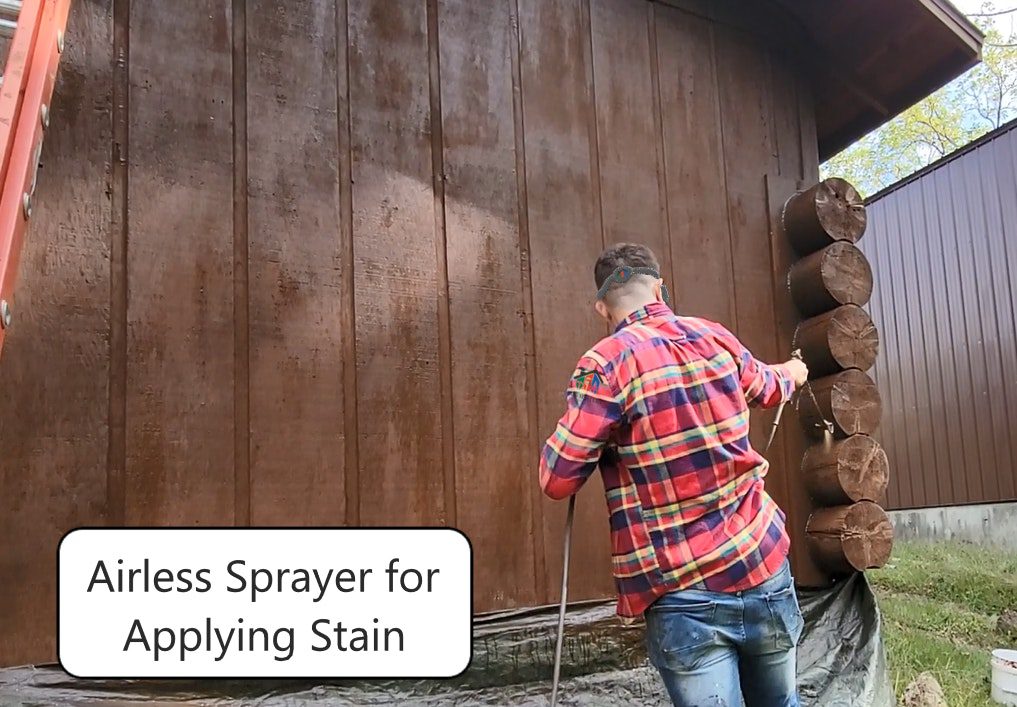
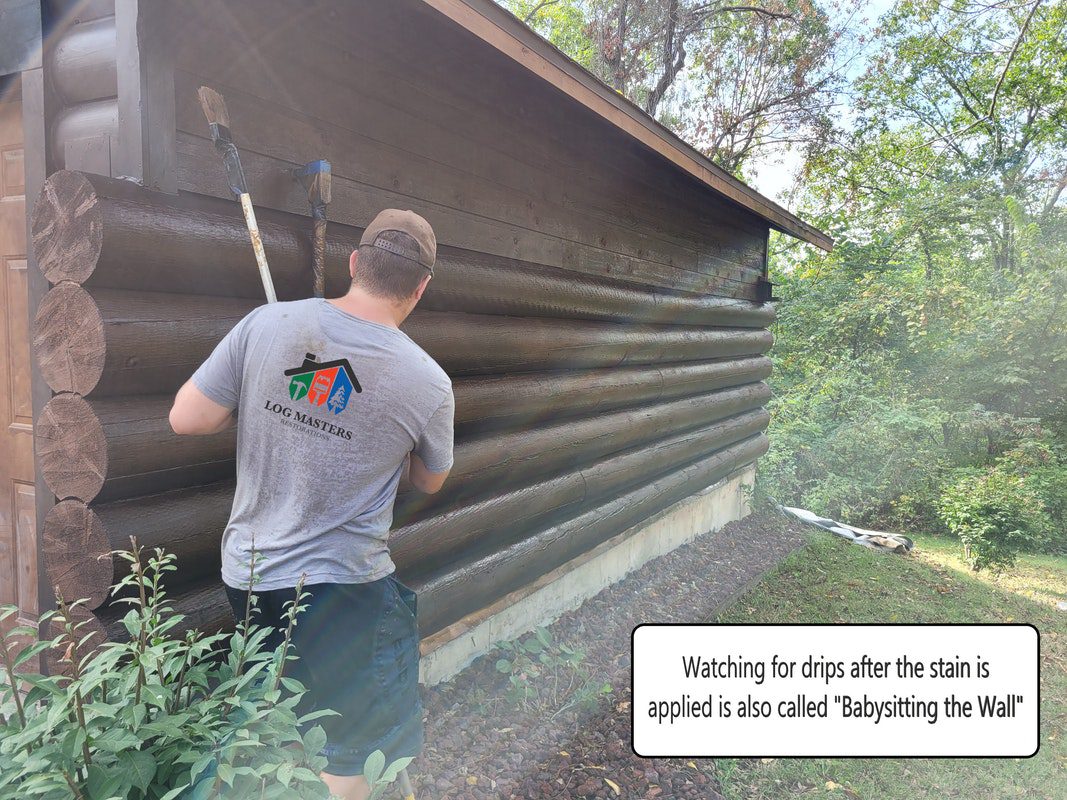
Using an airless sprayer, stain is applied to the logs using a top-down method, starting with the highest logs and then working down to the foundation. While spraying, the stain is immediately back brushed to evenly distribute it, ensure it penetrates all the fine cracks along the log and avoid drip lines.
For oil-based stains, apply two coats wet on wet or wet on dry, depending on the directions and condition of logs.
With water-based stains, Prelude is commonly used as a primer and can be applied the same day as the stain. Once the primer is dry, apply three coats of stain with four hours dwell time or between coats.
Step 4 (Water-Based Only):
Water-based stains require a clear coat, which should be applied generously. Back brushing, or “babysitting the wall,” is important during this step to avoid pooling or drip marks. You don’t want the clear coat to be too thick, and dripping can leave milky white lines on the log surface that will detract from your log home’s charm.
