Overview
Chinking Repair & Replacement Services
If the chinking on your log home needs to be repaired or replaced, Log Masters Restorations would love to earn your business. We understand pricing is important to you, but the cost of chinking work varies widely depending on your specific situation.
Each log home property brings a unique set of challenges, and our restoration processes may vary depending on your home’s location and surroundings. The level of regular maintenance—or lack thereof—also figures into our assessment, as do the materials used to build your log home and its design. For more details, read our article, “What We Consider in a Log Home Restoration Estimate.”
What Is Chinking?
Chinking and/or caulking is the sealant between your log home joinery that keeps drafts, bugs, and water out. Both chinking and caulking extend the life of your logs. Caulking of some type is almost always used on log homes, and chinking, which performs a similar function, is generally a design preference.
Historically speaking, chinking or “daubing” was necessary when building a log home and was often a yearly or seasonal chore. “Chink” usually consisted of hard materials like rock and wooden sticks covered by daubing, a soft material such as moss, hay, dung, and/or clay used to fill the remaining gaps. Used by all nations in some fashion, chinking protected inhabitants from driving winds and kept out vermin and rain.
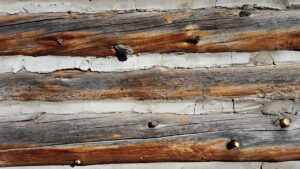
The chinking we use today is a synthetic flexible sealant. Chink is textured to resemble mortar, and it comes in a variety of colors. Unlike mortar or concrete chink, which typically requires constant maintenance, synthetic chink stretches to keep a tight fit when your home contracts and expands through the seasons. Its flexibility will save you time and money while radiating that old-style charm. For wider log gaps, we’ll chink in between all log joints to ensure your home is sealed tight to withstand the most extreme weather conditions.
Chinking looks great on large round or beam-style log homes. It also helps conserve energy by reducing drafts and unwanted elements from entering your home so you’re not constantly adjusting the thermostat!
When Is Chinking Used?
- To replace mortar
- Part of the log home design
- To fill wide gaps on
- Logs made for chinking
- Hearth or beam style logs
- Flare bottom logs
- Customer preference
- On round logs
- To add timeless beauty
- To add character by breaking up the log stain
- To add a complementing color that accentuates the logs
Does Your Log Home Need Chinking Work?
Over time, the chinking on your log home will likely start to show signs of normal wear. Cracks may be small and brittle or wide and long. But even the smallest cracks can lead to big problems. Removing and replacing your log home sealant not only improves the aesthetics, it also keeps your home draft-free and energy-efficient.
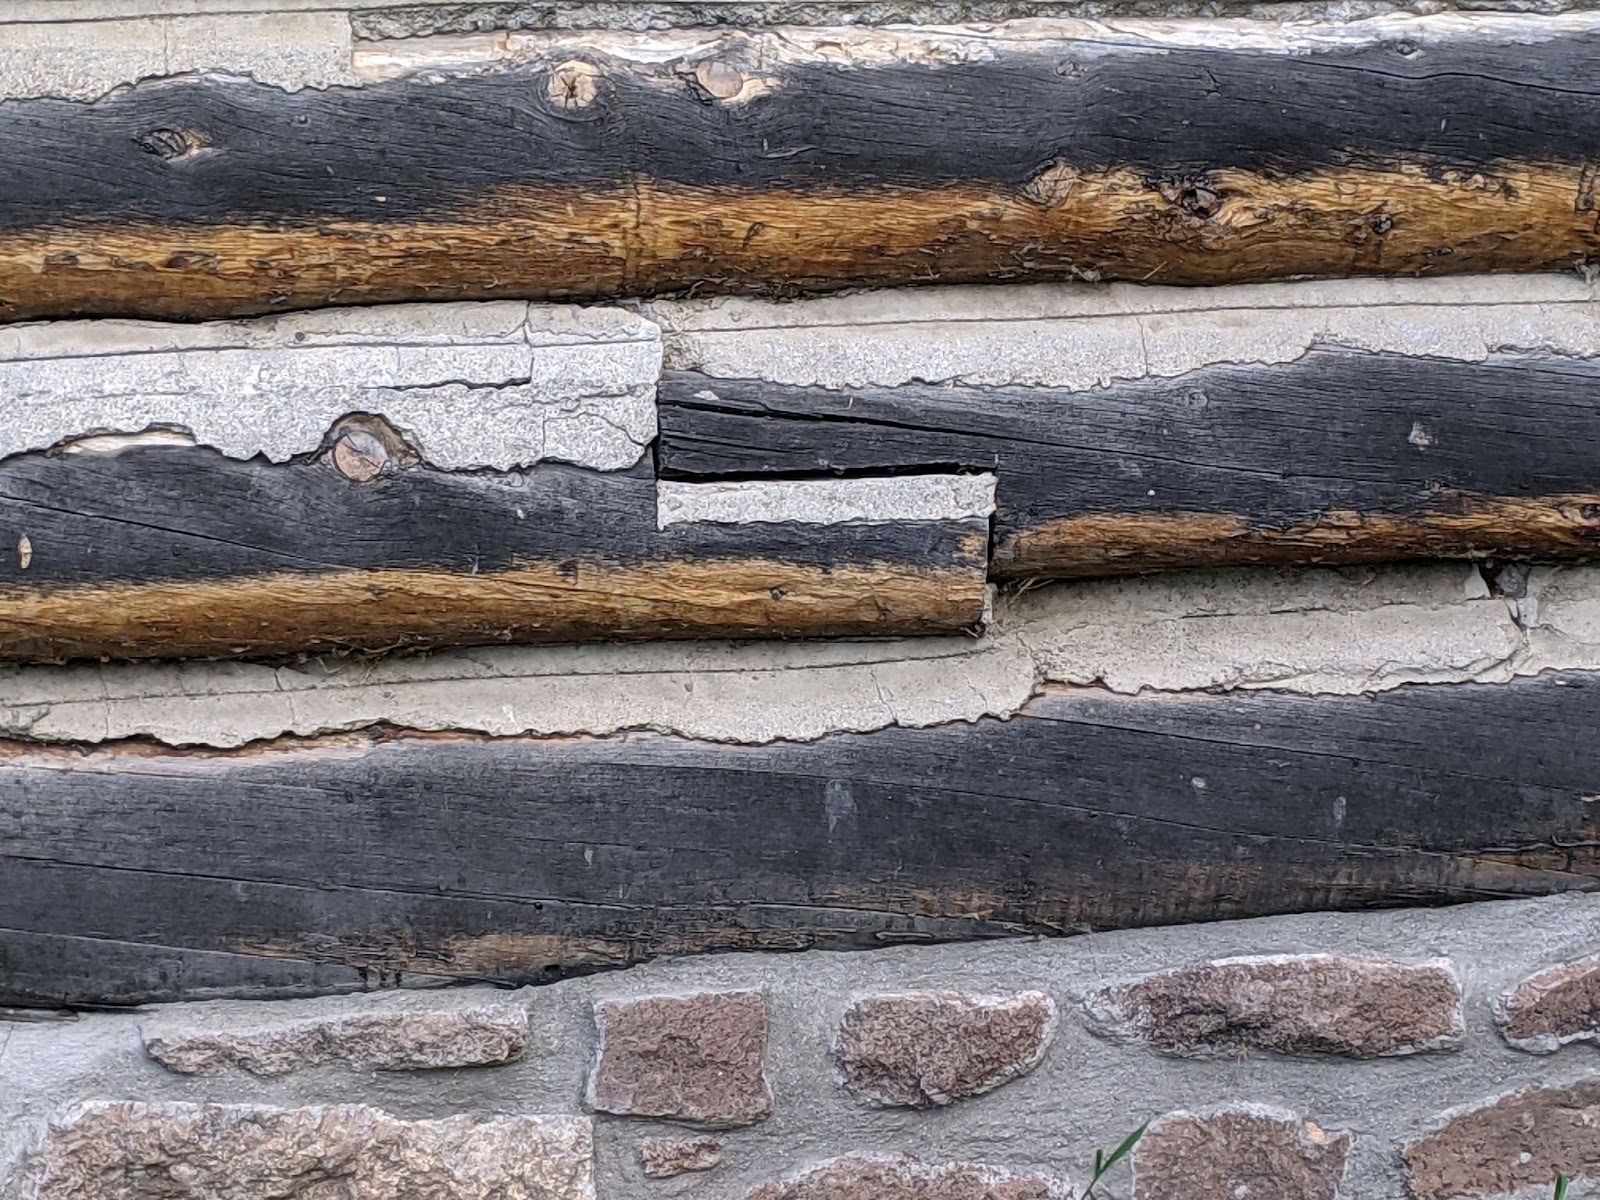
When and how we apply chink depends on your log home’s specific needs and the project’s scope. There are times when you should apply chink after staining, and in some cases, before. We’ll be expanding on this topic in a future blog post. Contact us directly for pricing details.
Process Steps
Log Cabin Chinking
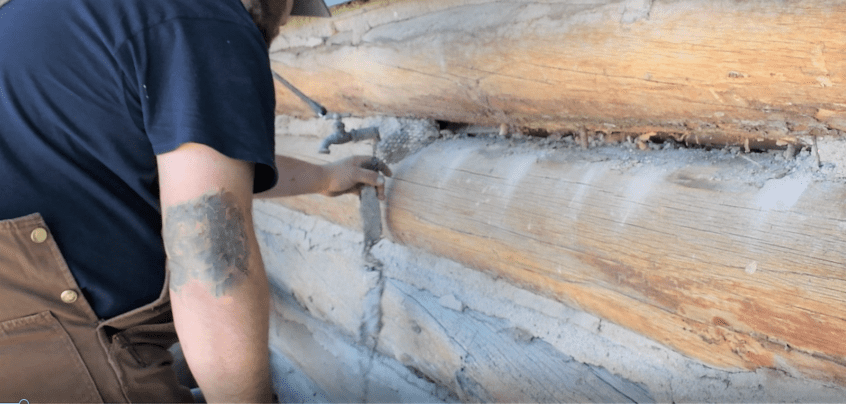
Step 1:
Clean the chink line area out.
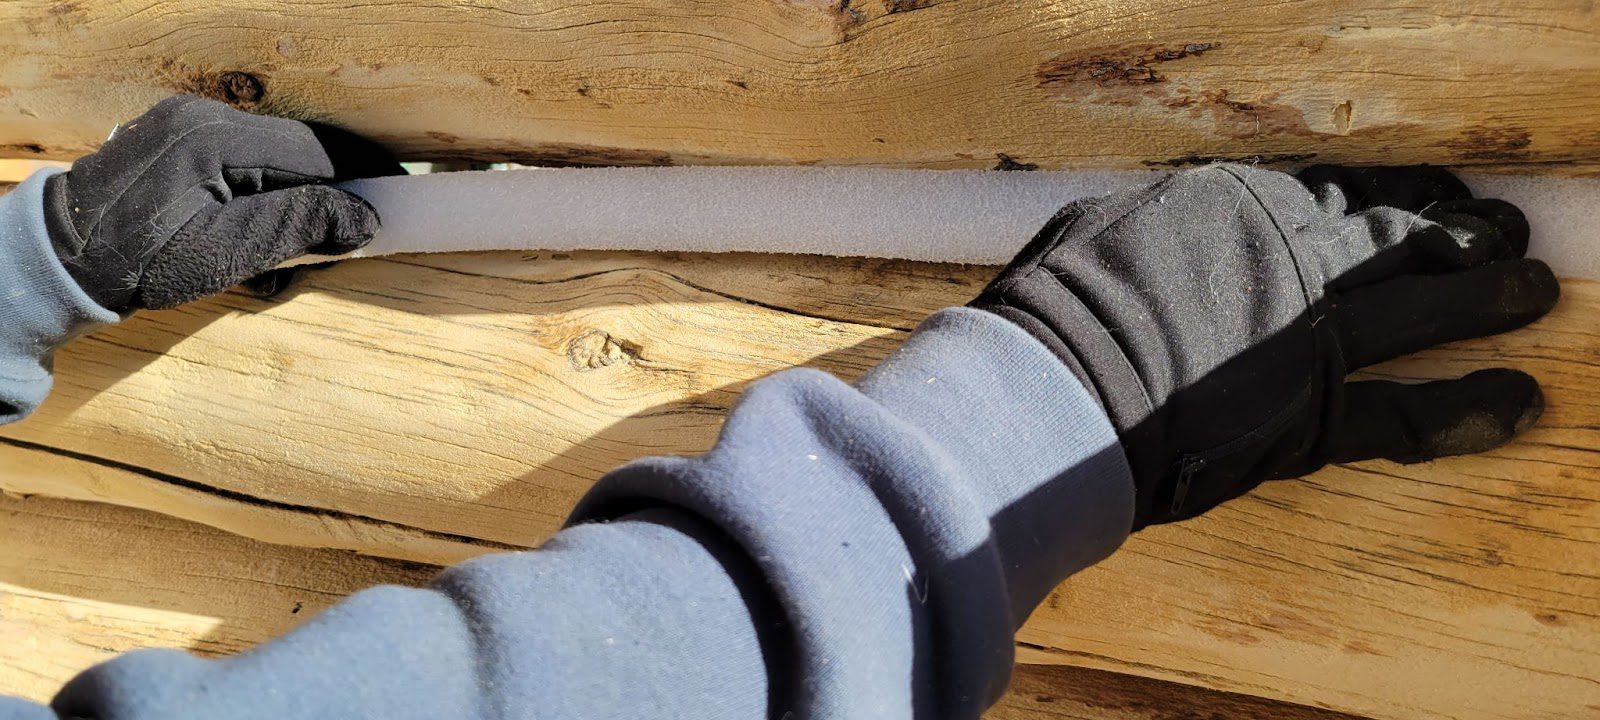
Step 2:
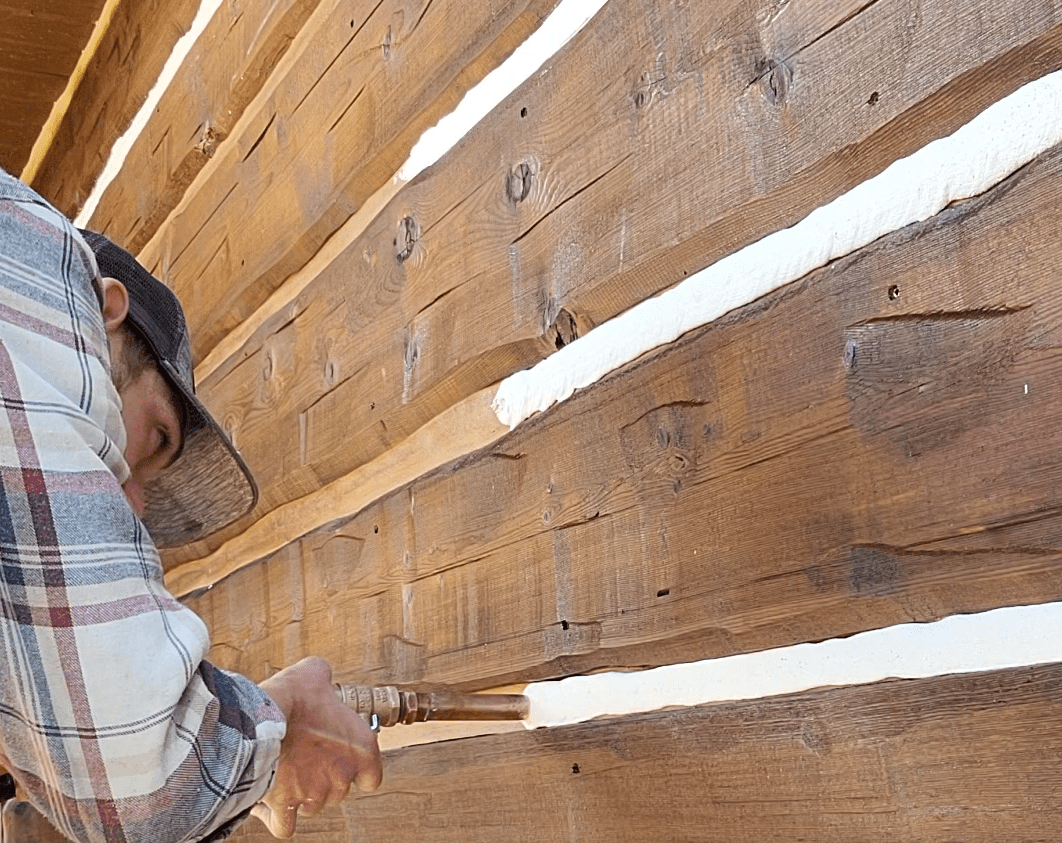
Apply a grip strip and backer rod, or closed-cell foam strip backer rod, in any gaps or voids and staple to secure.
Step 3:
Apply a thin layer of chink on the prepared surface with either a chink pump or a bulk loading gun. We recommend applying it in five to six-foot sections to avoid setting.
- For wide gaps:
- Apply approximately a ⅜” -½” chinking bead onto foam strip in a vertical zig-zag pattern (rather than a horizontal straight line), which encourages minor voids or air bubbles to escape easily.
- This allows maximum even coverage when trowel or brush finish is needed.
- For small gaps:
- Apply ⅜” – ½” bead in a horizontal straight line pattern.
- Use a foam brush or trowel to smooth the desired finish.
Step 4:
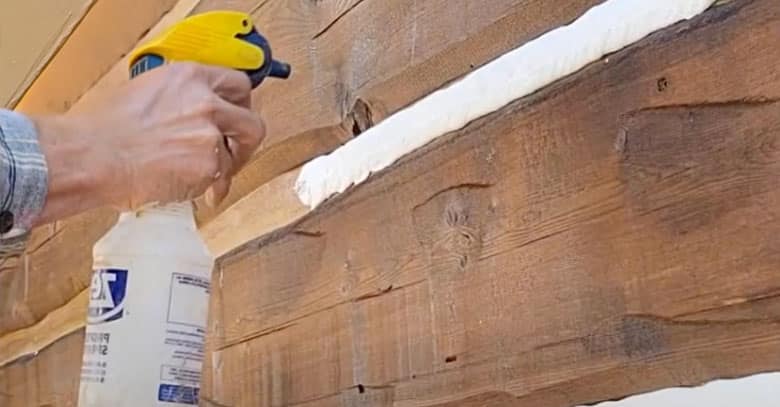
Lightly mist the chink with water so the trowel floats over the sticky chink.
Step 5:
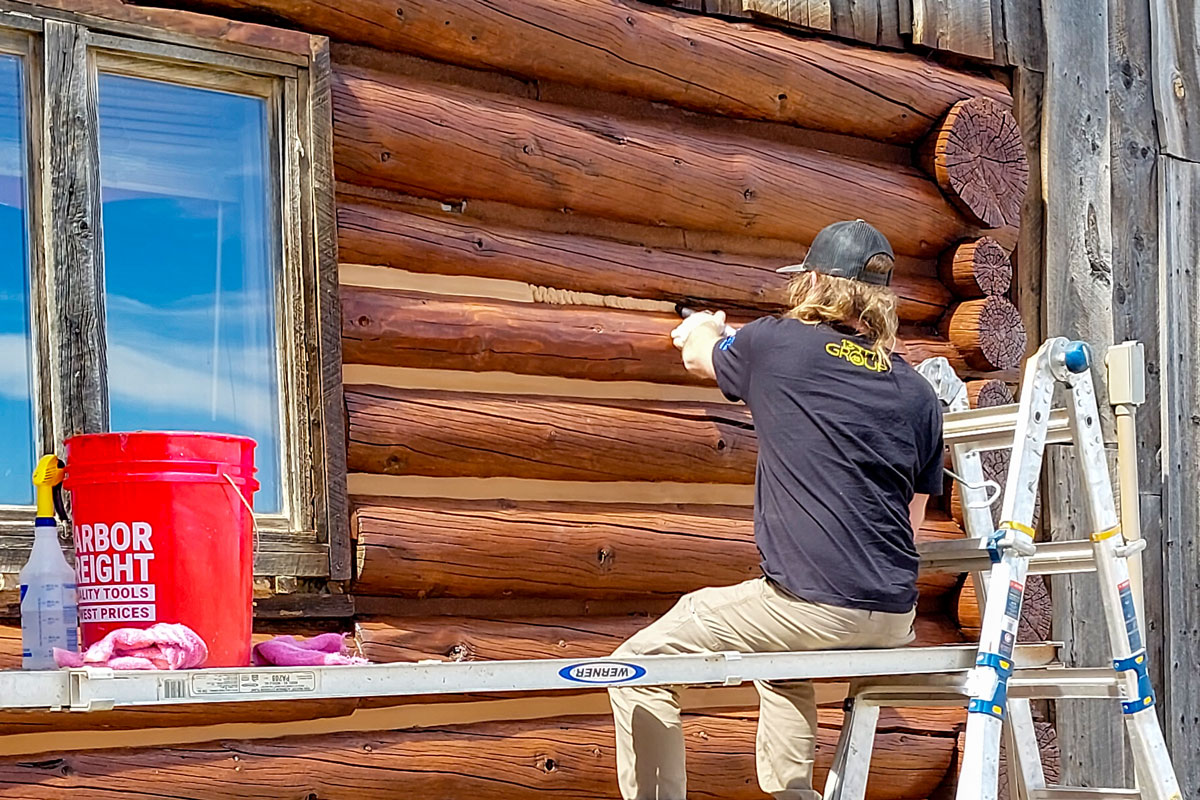
Gently use a trowel to cover voids between the logs. Be sure to keep chink off of the trowel during this process.
Step 6:
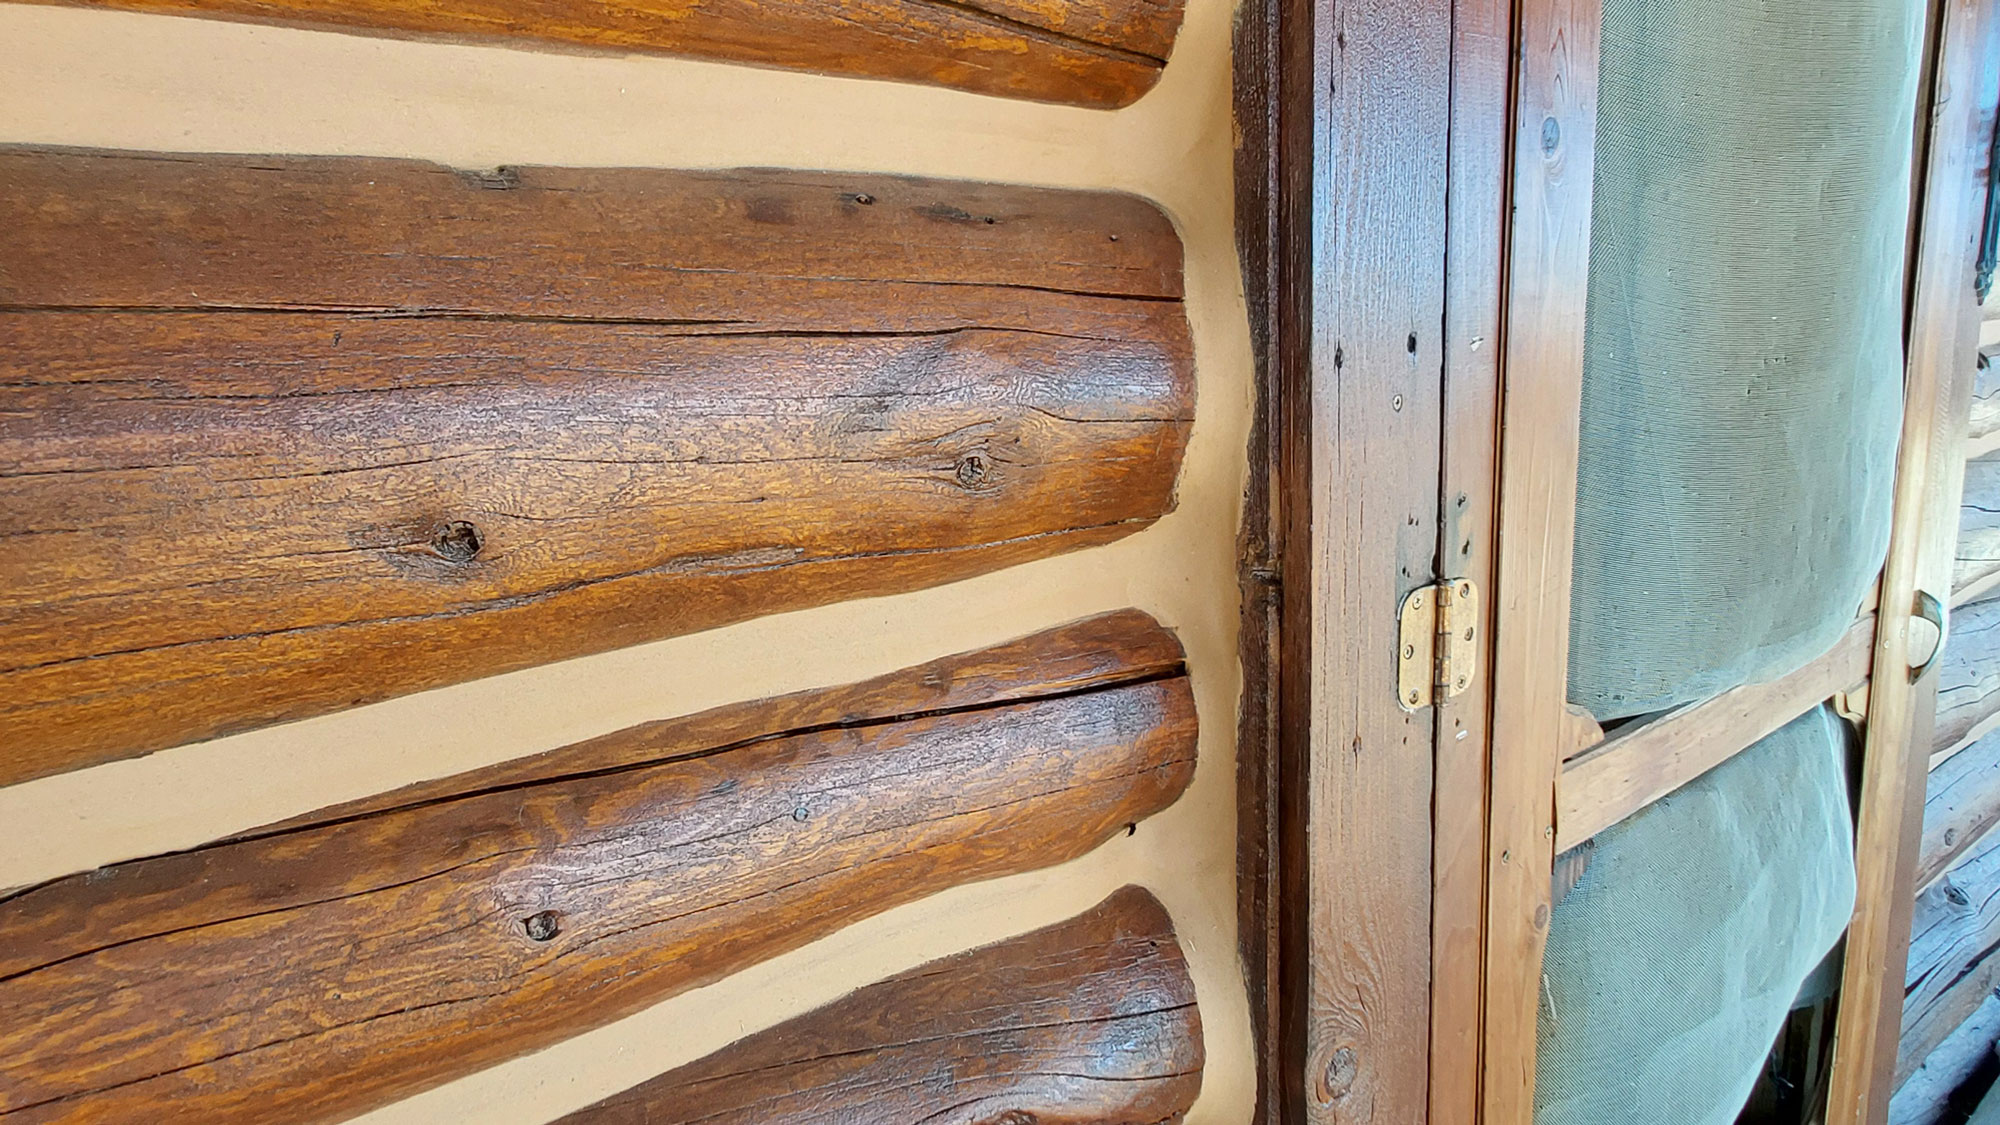
Once the voids are filled, continue using the trowel to flatten and smooth the chink. Once you finish, your chink lines are complete!
